
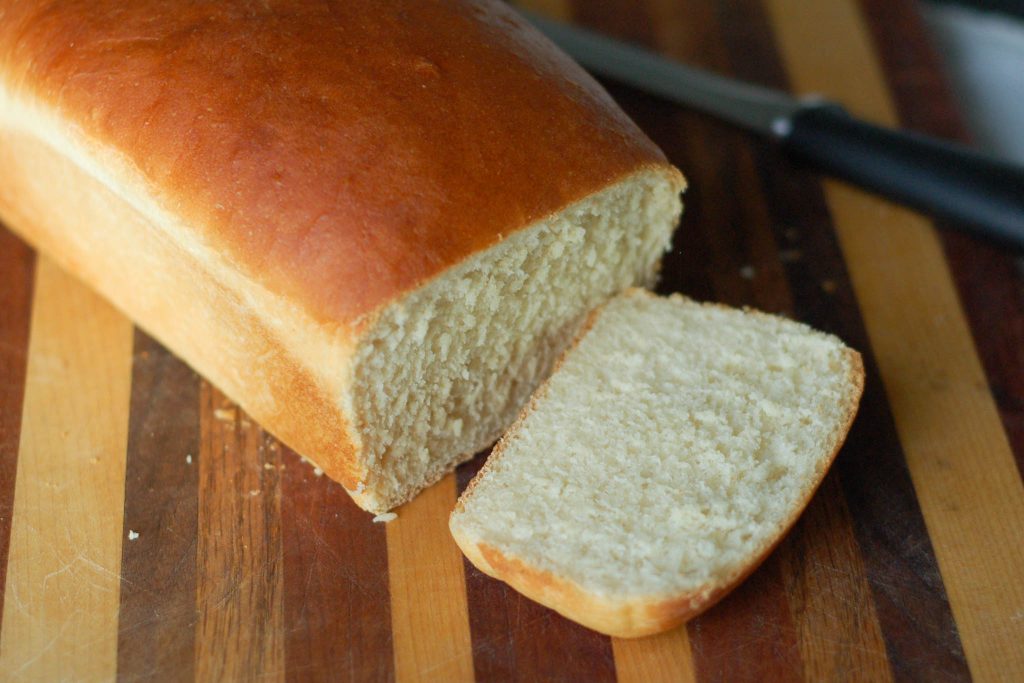
Here is an easy no-knead homemade bread recipe. This easy to follow, step-by step recipe will teach you how to make delicious homemade bread.
This homemade bread is great when used in making sandwiches or toasted and smeared in butter and raw honey. My favorite though has to be hot out of the oven with lots of butter.
All growing up, my mom made bread and sometimes multiple times a week. With eight kids eagerly awaiting it to come out of the oven, it didn’t take long for us to finish off a loaf or two.
If you have never made your own bread before this easy no-knead homemade bread recipe is a great one to start with. You will want to add this to your recipe book. It will not disappoint.
Step-by-Step Instructions For Easy No-Knead Homemade Bread
Making the Dough:
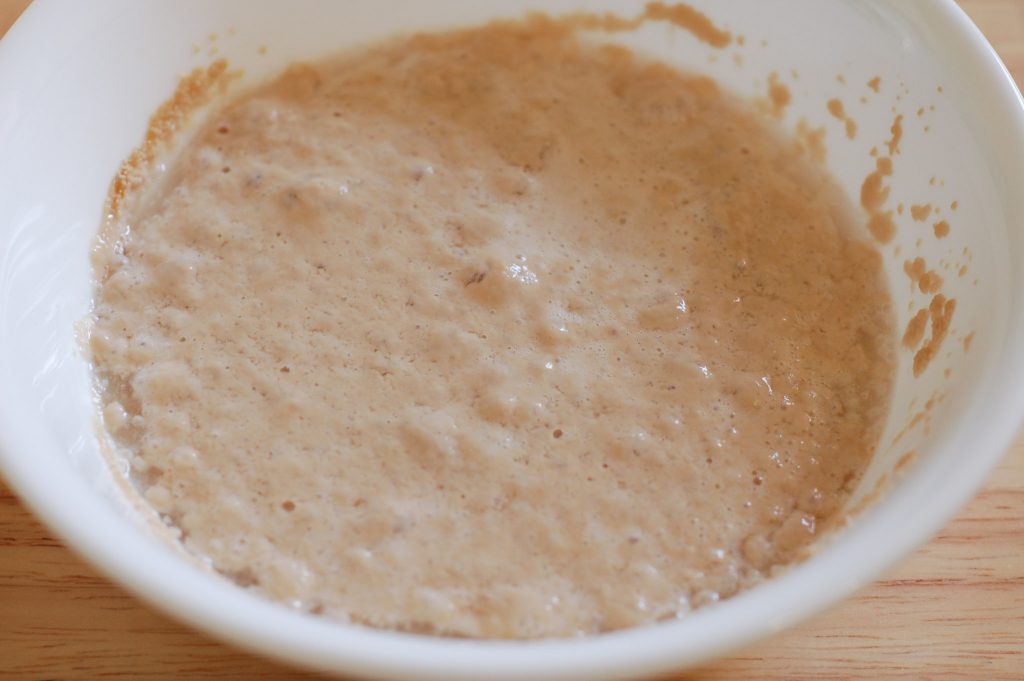
To make this easy no-knead homemade bread recipe you will first start with preparing the yeast. In a small bowl add 1/4 cup of warm water ( around 85° F), pinch of sugar, (the yeast will feed on the sugar) and 2 tsps. of dry yeast (1 pkg.) Let this sit for 5-10 minutes to allow the yeast to activate. You will know it is ready to use when it looks bubbly/foaming on top.
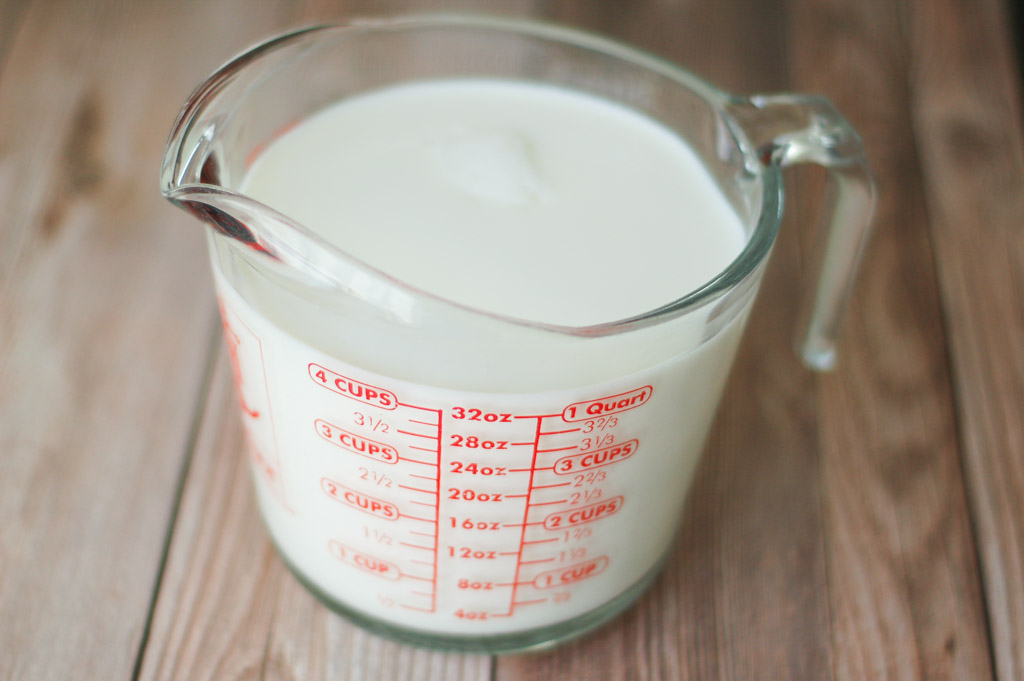
Next, in a large microwave safe bowl add 4 cups of milk ( I use whole milk but 2% or skim will work too). To the milk, add 2 1/2 tsps. of butter or coconut oil. Warm this up in the microwave until the butter/oil is melted. However, do not let the milk get too hot or else it will kill the yeast.
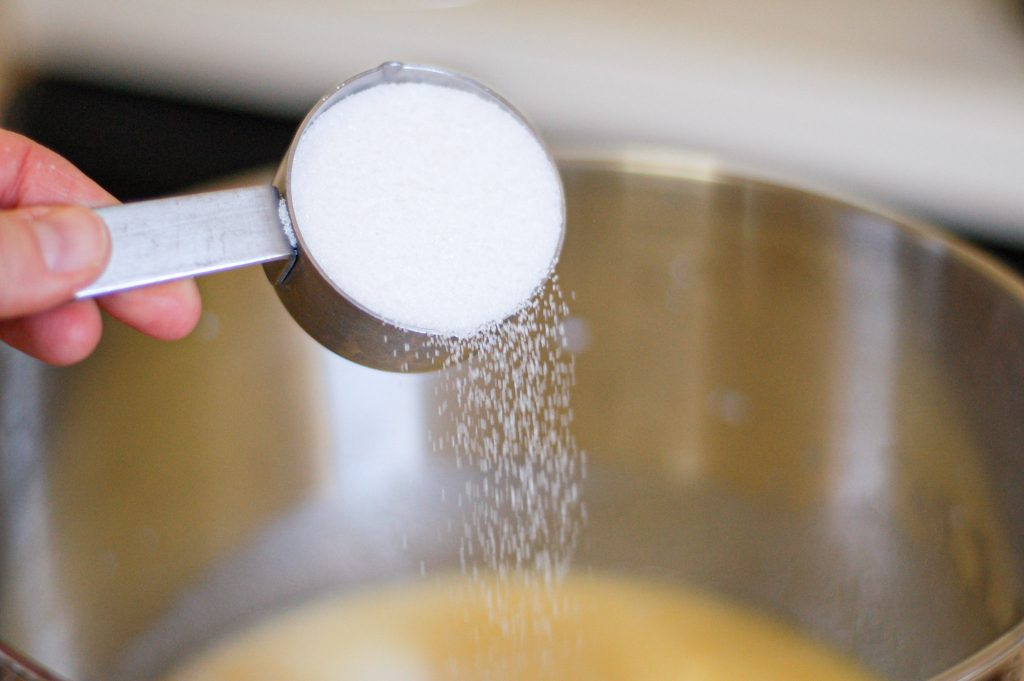
In the bowl of a stand mixer add the warmed milk and butter. Then pour in the bubbly yeast and water mixture along with 1 1/2 Tbs. of salt. Next, add 1/2 cup of white sugar. While using the dough hook attachment, mix these ingredients together a few times.
Next, in a different bowl and using a kitchen scale measure out 1400 grams of all-purpose flour. With the stand mixer on low begin adding the flour one cup at a time.
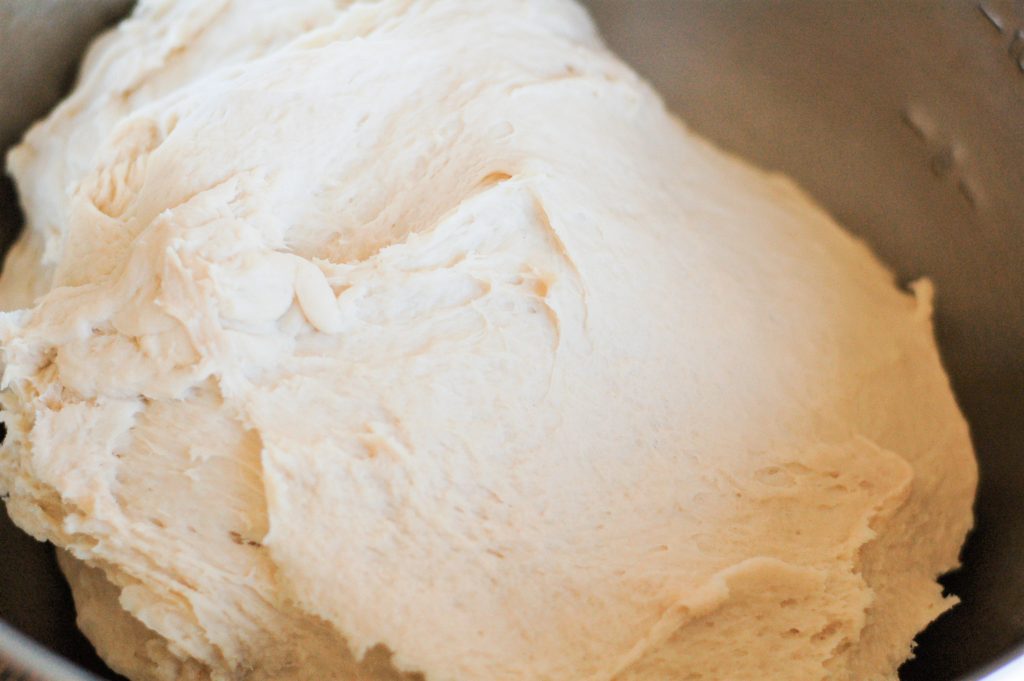
Once all of the flour is incorporated turn the mixer to a medium low speed and let it run for 8-10 minutes working the dough. The dough should be slightly sticky but not wet. You can always add a little more flour if your dough is feeling too wet.
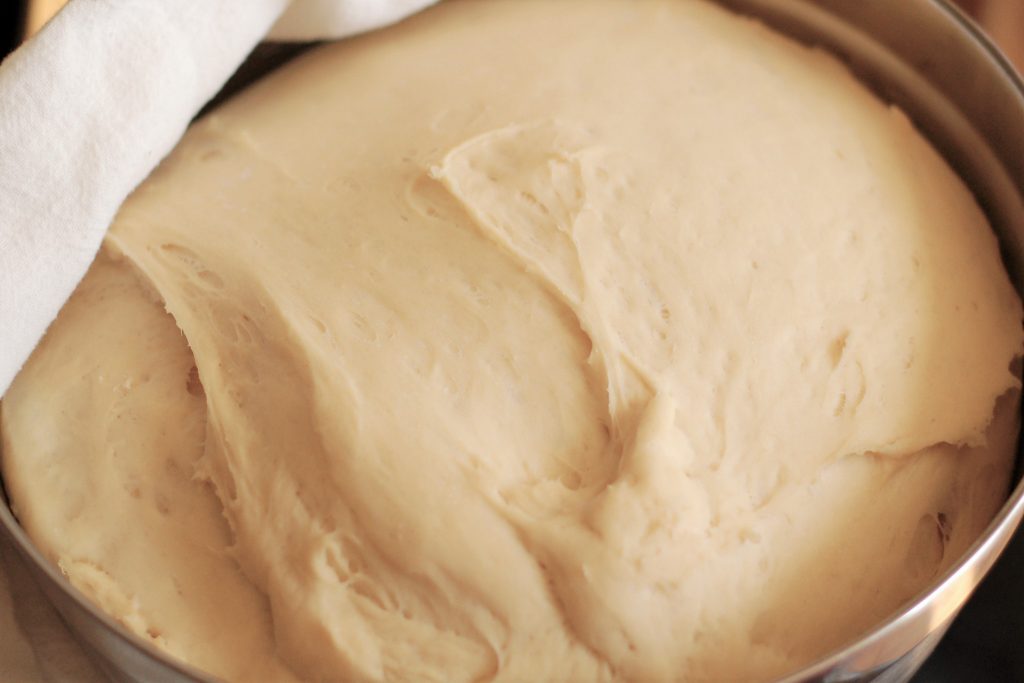
Move the bread dough to a large bowl that has been lightly sprayed with non-stick pan spray and then cover with plastic wrap or a clean dish towel. Set the bowl in a non drafty/ warm spot and let the dough rise for approximately one hour. Look for the dough to double in size.
Prep Tins and Shape Dough:
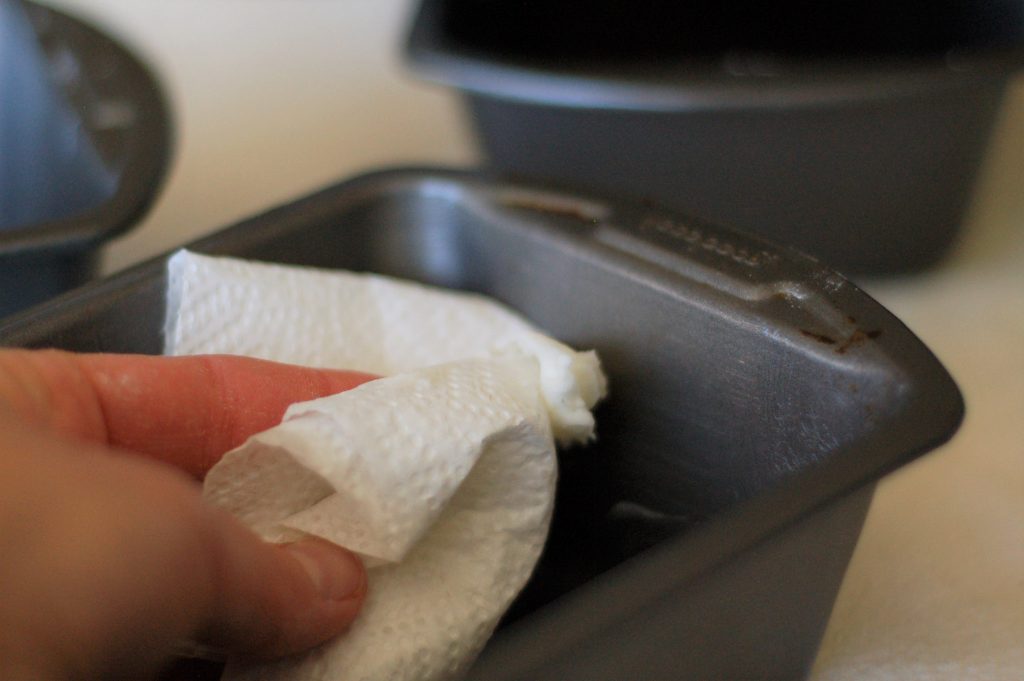
Next, you will need to prepare your bread tins. This recipe makes four loaves in 8 in. x 4 in. bread tins. Wipe the bottom and sides of each tin with shortening or coconut oil.
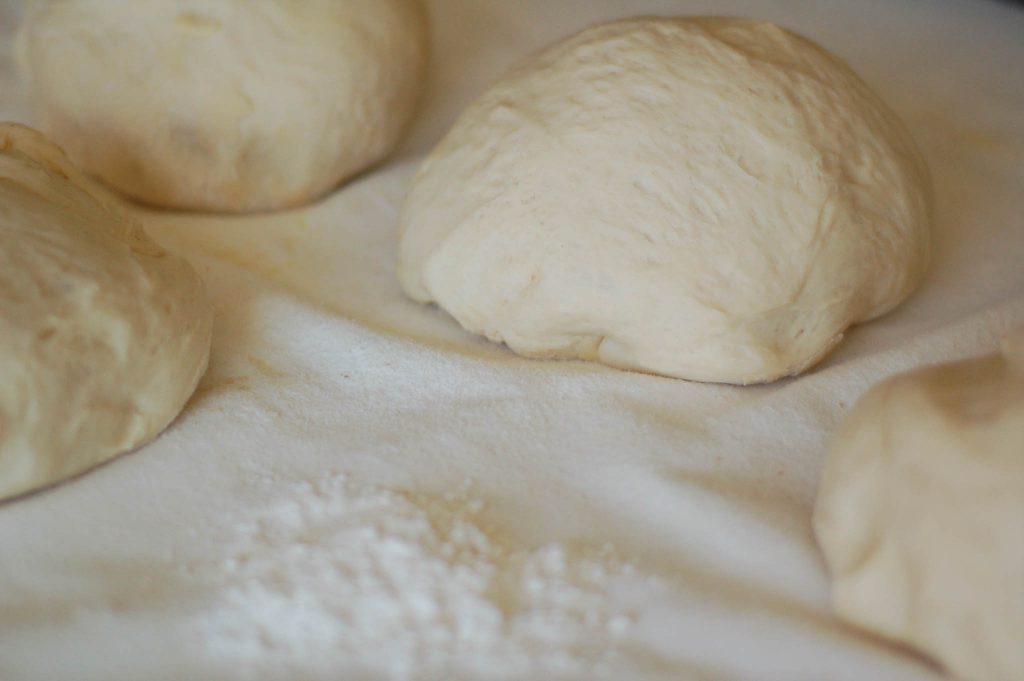
On a lightly floured surface, turn out the risen dough. Divide the dough into four equal pieces. I like to use my kitchen scale to make sure each divided piece of dough is the same amount. This helps to insure that each loaf is the same size. Sometimes I just eye ball it too……both work! Once you have divided the dough allow it to rest for five minutes or so.
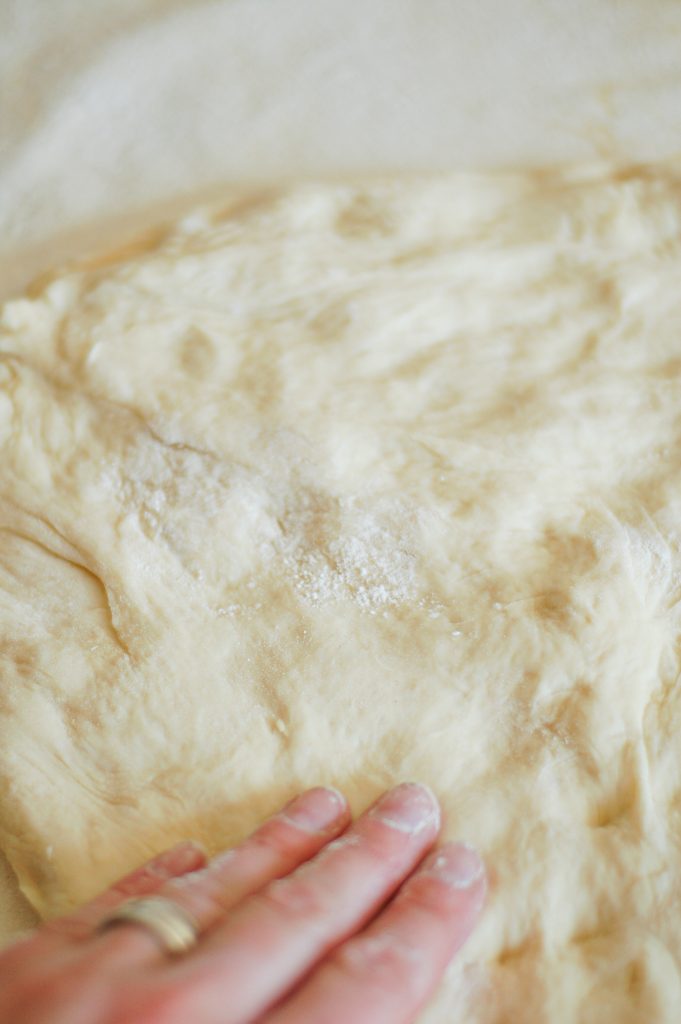
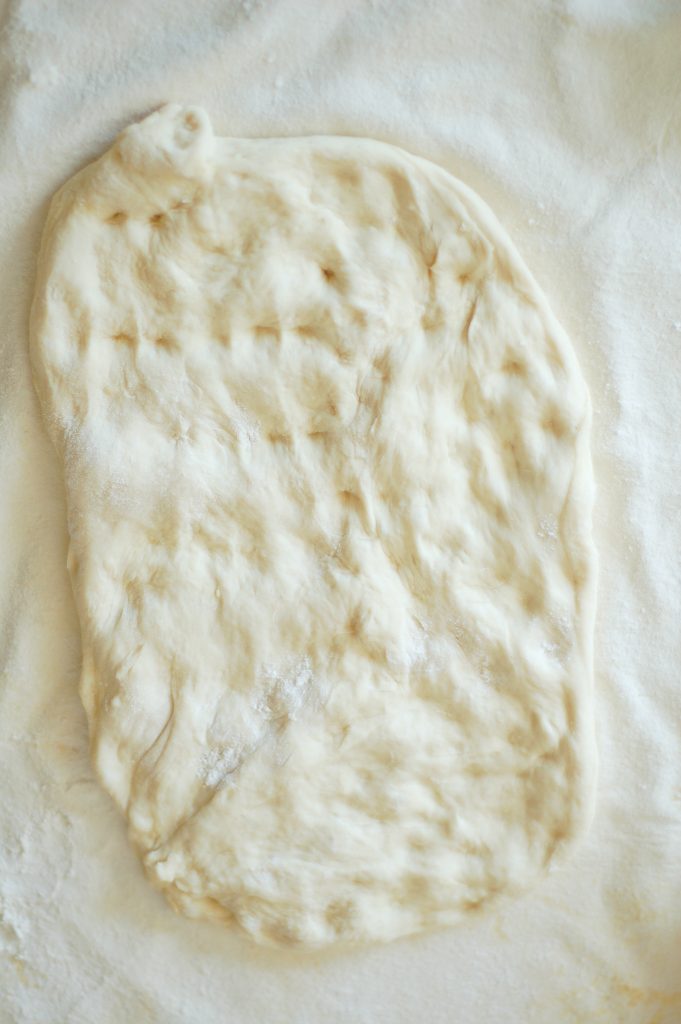
Take one of the divided pieces of dough. Using your fingers begin to flatten out the dough into a rectangle approximately as wide as your bread tins are. Press out any bubbles in the dough.
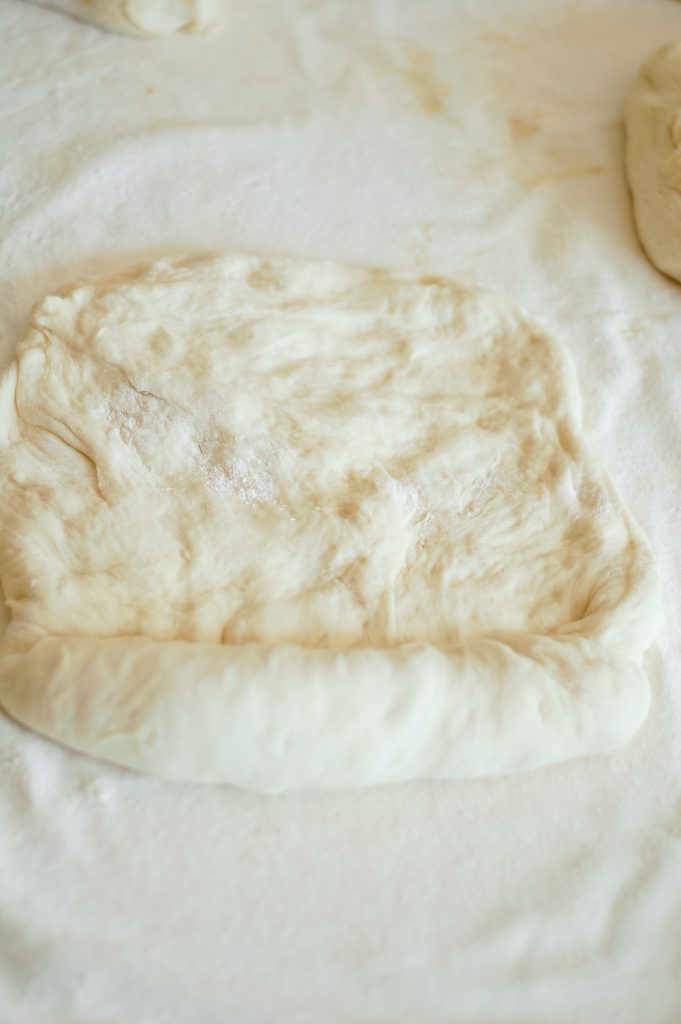
Now, begin rolling the dough up. I like to roll the dough about a quarter turn and press the seam together where the flat dough and the rolled dough meet. This helps the bread to stay together and not unroll like a cinnamon roll.
Also, tuck in the ends on each side as you go.
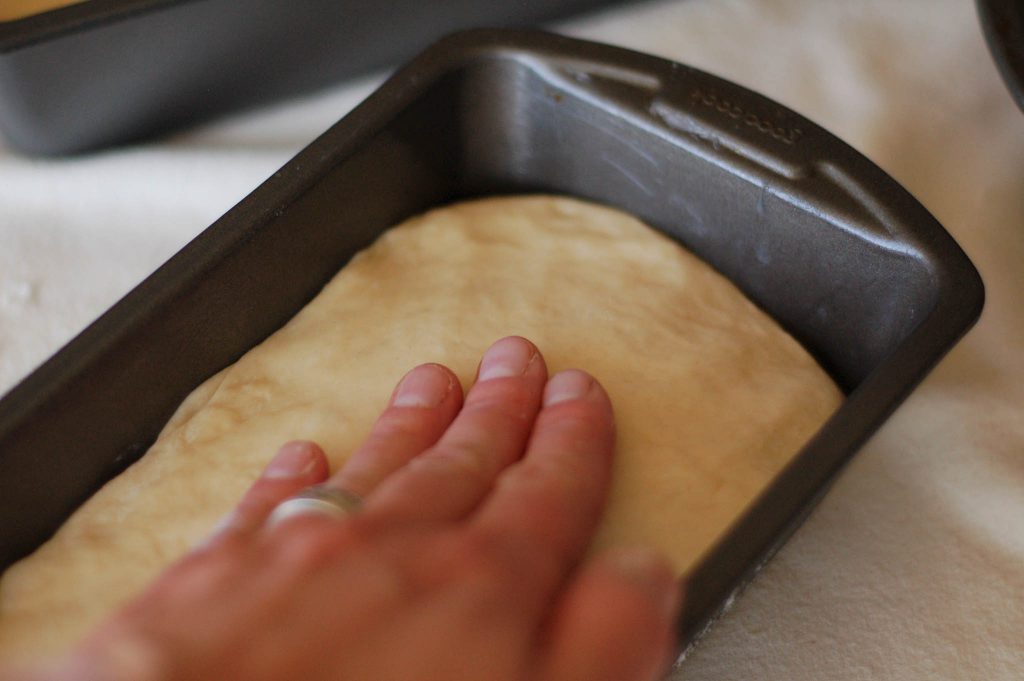
Place each portion of dough into the prepared bread tins with seam side down. I like to push the dough into the corners and check for any visible bubbles in the dough that will create holes in the baked bread.
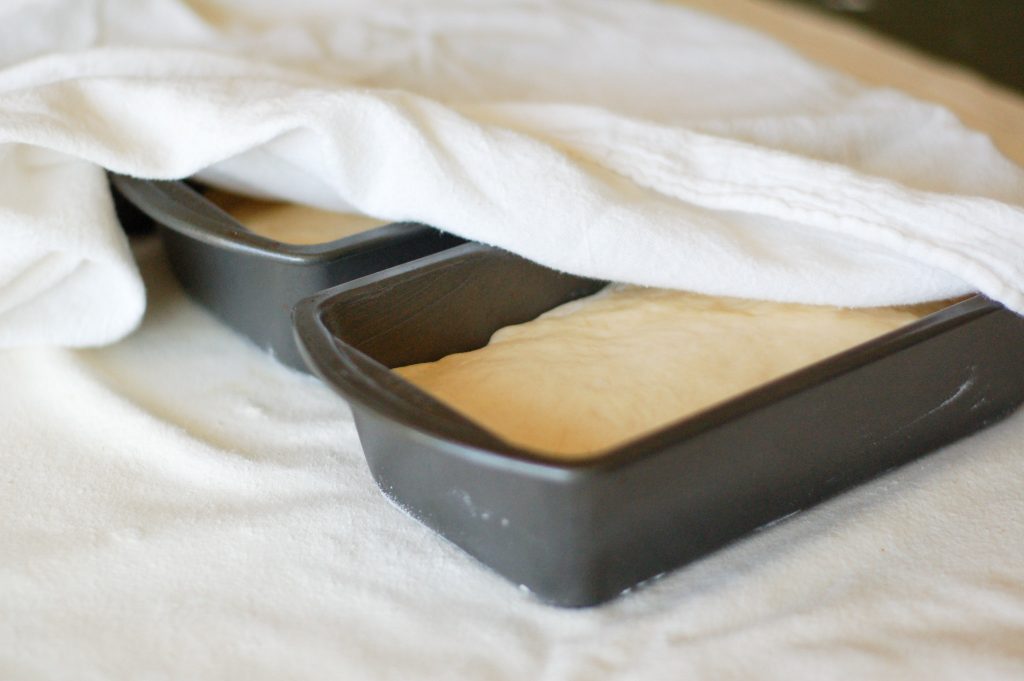
Once you have transferred all of the dough into the different tins, cover them with a dish towel. In a warm place, allow the dough to rise. This usually takes about 30-40 minutes in my kitchen.
Baking:
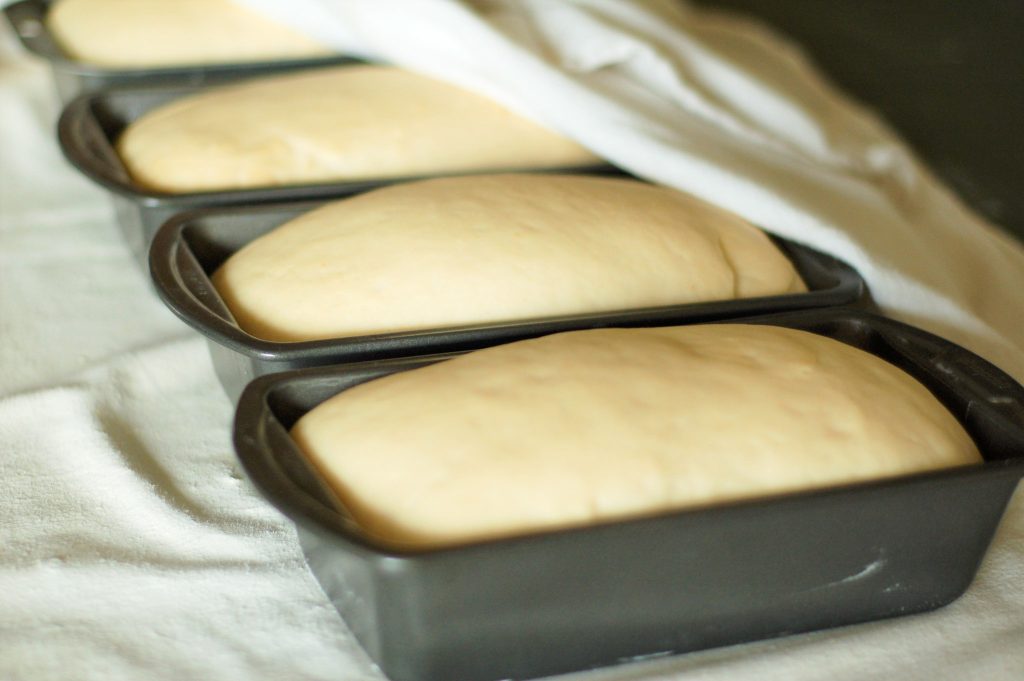
Heat your oven to 375° F. Allow the dough to rise about an inch above the tins before putting them into the oven on the middle rack. Bake for 14 minutes at 375° F. Turn down the temperature to 300° F and bake for an additional 14 minutes.
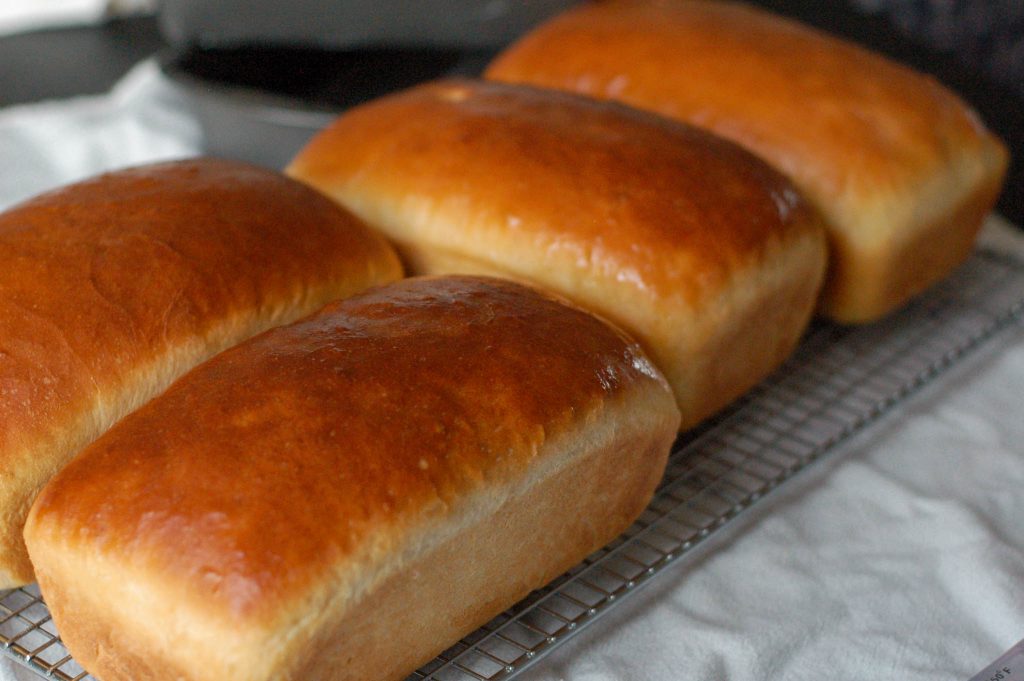
After taking the bread out of the oven carefully remove it from the bread tins and set on a cooling rack.
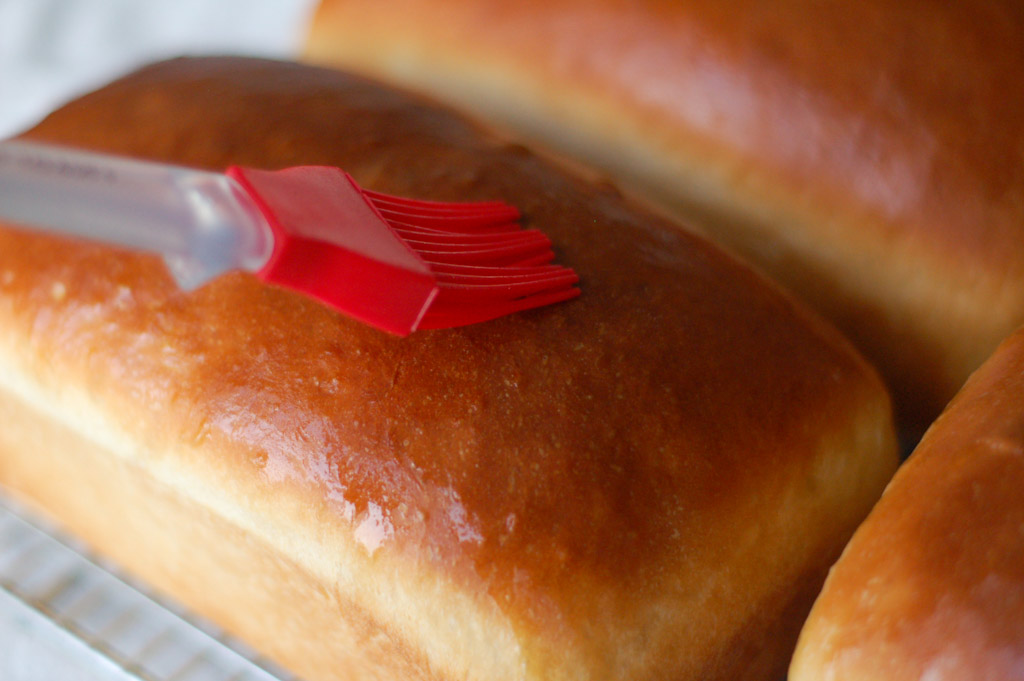
Brush the top of each loaf with butter or coconut oil to give it a beautiful shine.
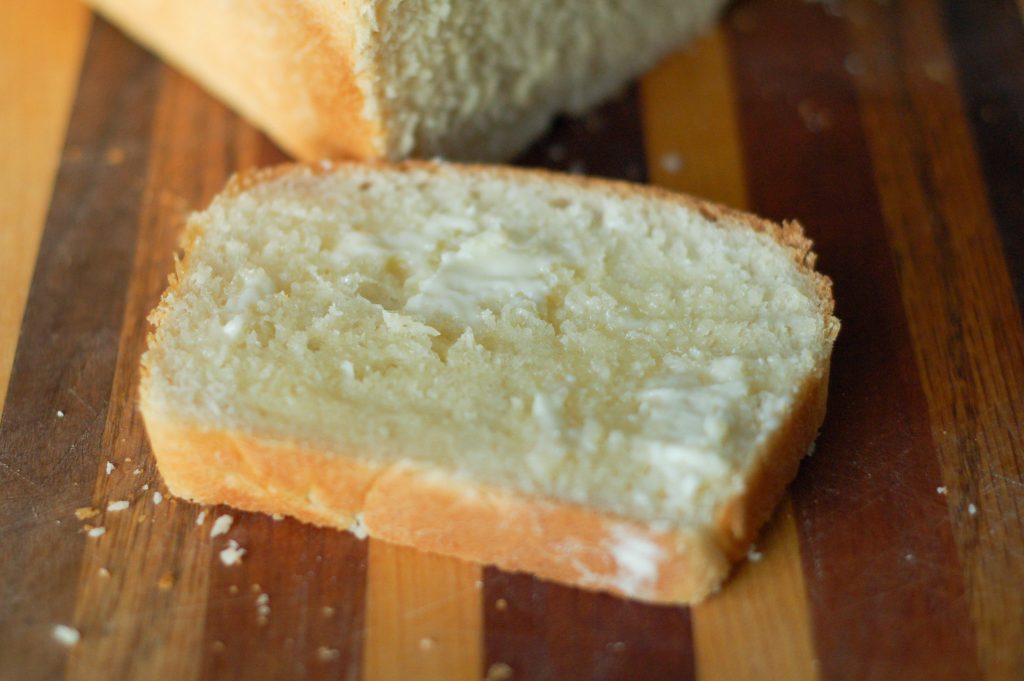
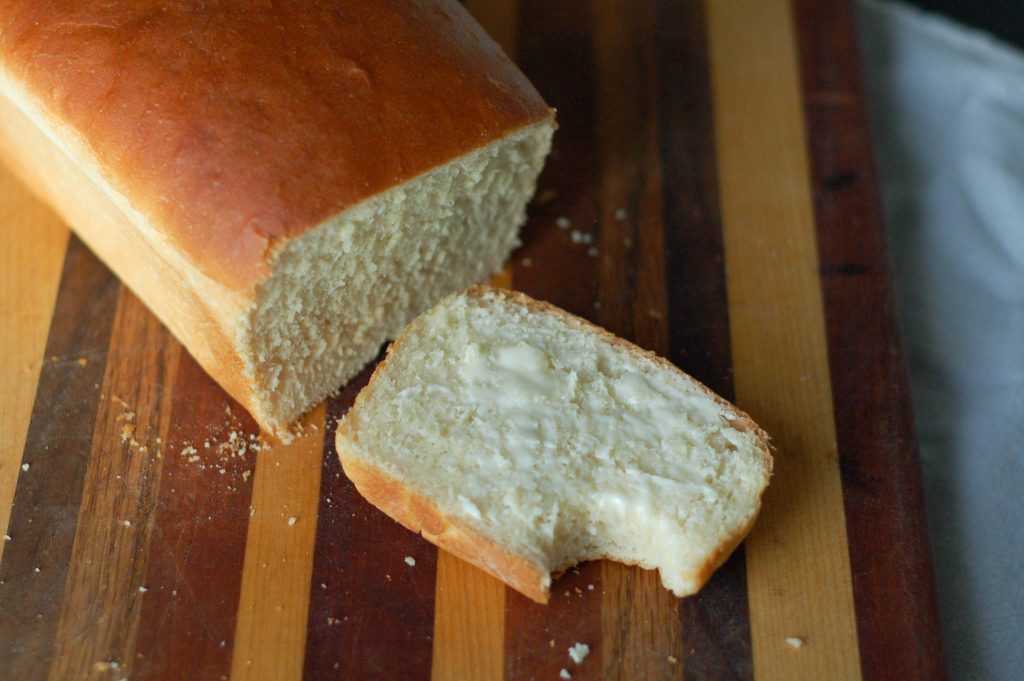
Now for the most important part……..eatting!! Cut off a thick slice and slather it with butter while it’s still hot. I never agreed with the idea that you should wait until it cools. You worked hard and dang it……buttered, hot, homemade bread is THE BEST.
Easy No-Knead Homemade Bread
Tips:
- Making multiple loaves at one time is great because you can freeze two or three loaves to use later in the week. Wrap the bread in plastic wrap and then place in a freezer bag. Try to remove as much of the air from the bag as possible before sealing it. Freeze up to 2-3 weeks.
- This recipe makes four loaves using 8″x 4″ bread tins. This recipe can easily be cut in half if four loaves is more than you want.
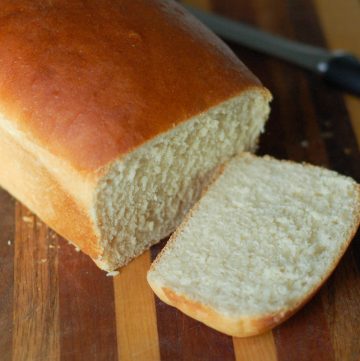
Easy No-Knead Homemade Bread
Ingredients
- ½ cup warm water around 85° F
- 4 ½ tsp yeast 2 pkgs
- 4 cups milk
- 2 ½ tsp butter
- 1 ½ Tbs salt
- ½ cup sugar
- 1300 g all-purpose flour or bread flour
Instructions
Preparing the Bread Dough
- In a small bowl add ½ cup of warm water (approx. 85° F) and a pinch of sugar. Allow to sit for 5-10 minutes until it becomes foamy.
- Sprinkle 4 ½ tsp of yeast into the bowl and then stir the yeast into the water.
- Set this aside to activate while you prepare the other ingredients.
- In a large microwave safe bowl combine the 4 cups of milk and 2 ½ tsps. of butter. Warm in the microwave until butter is just melted. The milk/butter mixture should be warm but not hot.
- To a mixer add 1 ½ Tb salt.
- Add ½ cup of sugar.
- Add warmed milk and butter.
- Add the water and yeast mixture.
- Using the dough hook attachment, combine these ingredients for a few seconds.
- With mixer on low, start adding the 1300 g. of flour one cup at a time.
- Once all of the flour has been added, leave the mixer on a medium/low speed for 8-10 minutes to work the dough.
First Rise
- Coat a large bowl with nonstick spray and transfer the dough from the mixer.
- Cover with plastic wrap and allow the dough to double in size. Approx. 1 hour.
Forming the loaves
- Brush the bottom and sides of four 8"x 4" bread tins with shortening or coconut oil.
- Onto a pastry mat or a lightly floured counter dump out the bread dough and divide into four equal pieces. Allow the pieces of dough to rest for 5 minutes.
- Take one of the divided pieces of dough. Using your fingers begin to flatten out the dough into a rectangle approximately as wide as your bread tins are. Press out any bubbles in the dough.
- Begin rolling the dough up. I like to roll the dough about a quarter turn and then press the seam together where the flat dough and the rolled dough meet, tucking the ends in as you go.
- Put dough in prepared bread tins with seam side down. Push the dough into the corners and check for any visible bubbles in the dough that will create holes in the baked bread.
- Cover with a dish towel and set in a warm place. Allow the loaves time to double in size and start heating up your oven to 475°.
Baking
- On the middle rack bake for 14 minutes at 475°.
- Then turn down the oven to 400° and bake for another 14 minutes.
- Remove from the oven and carefully remove the bread from the tins. Place the fresh bread on a cooling rack.
- Brush the top of each loaf with butter or coconut oil.
Leave a Reply